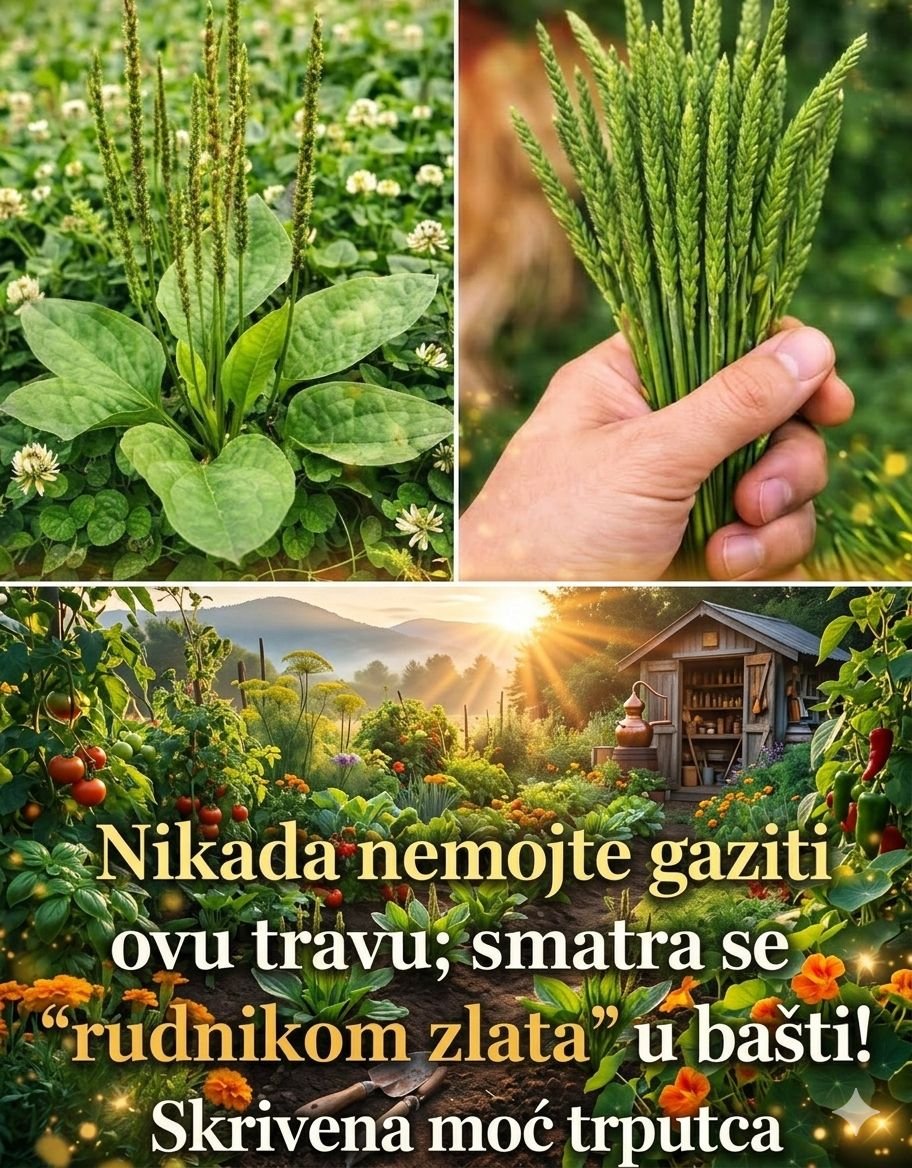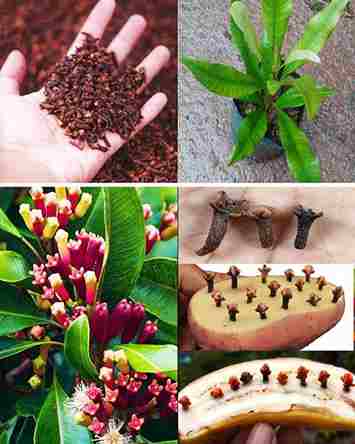
Clove, a versatile spice with a rich history dating back centuries, is not only a popular ingredient in culinary dishes but also holds medicinal properties. Growing your own clove plant at home can be a rewarding experience, allowing you to enjoy its aromatic fragrance and flavorful essence straight from your garden. In this guide, we’ll take you through the process of cultivating clove from seed to spice, ensuring a successful journey from start to finish.
Understanding Clove Plant Basics
Before diving into the cultivation process, it’s essential to understand the basics of the clove plant (Syzygium aromaticum). Clove is an evergreen tree native to the Maluku Islands in Indonesia, known for its distinctive aromatic flower buds. These buds are harvested and dried to create the cloves commonly used in cooking and traditional medicine.
Step 1: Sourcing Clove Seeds
The first step in growing clove at home is acquiring viable seeds. Clove seeds are typically found within the ripe fruits of the clove tree. However, obtaining fresh seeds can be challenging, as they lose viability quickly once removed from the fruit. It’s best to source seeds from a reputable supplier specializing in herbs and spices.
Step 2: Preparing the Planting Medium
Clove seeds require a well-draining, nutrient-rich soil mixture for optimal growth. Prepare a planting medium using a combination of organic compost, perlite, and sand to ensure proper aeration and moisture retention. Fill small pots or seed trays with the planting medium, leaving some space at the top for the seeds.
Step 3: Planting Clove Seeds
Plant the clove seeds approximately 1/2 inch deep into the prepared soil, spacing them evenly apart. Gently pat down the soil to ensure good seed-to-soil contact. Water the seeds thoroughly but avoid oversaturating the soil, as clove seeds are susceptible to rotting in overly wet conditions.
Step 4: Providing Optimal Growing Conditions
Place the pots or seed trays in a warm, sunny location with indirect sunlight. Clove plants thrive in temperatures between 70°F to 85°F (21°C to 29°C) and require consistent moisture during the germination period. Keep the soil evenly moist but not waterlogged, and ensure adequate airflow around the seedlings to prevent fungal diseases.
Step 5: Transplanting Seedlings
Once the clove seedlings have developed several sets of true leaves, they are ready for transplantation into larger containers or directly into the garden. Choose a well-drained, sunny spot in your garden with fertile soil for transplanting. Space the seedlings approximately 10 feet apart to allow ample room for growth.
Step 6: Caring for Mature Clove Plants
As the clove plants mature, they will require minimal maintenance to thrive. Water the plants regularly, especially during dry periods, and apply a balanced fertilizer every few months to promote healthy growth. Prune the plants as needed to maintain their shape and remove any dead or diseased branches.
Step 7: Harvesting Cloves
Clove plants typically begin flowering and producing buds after 4 to 5 years of growth. Harvest the flower buds when they are still closed and pinkish-red in color, as this indicates optimal flavor and aroma. Use sharp scissors or pruning shears to carefully cut the buds from the branches, taking care not to damage the surrounding foliage.
Step 8: Drying and Storing Cloves
After harvesting, dry the clove buds in a well-ventilated area away from direct sunlight. Spread them out evenly on a clean, dry surface and allow them to air dry for 1 to 2 weeks until they are completely dehydrated. Once dried, store the cloves in an airtight container in a cool, dark place to preserve their flavor and potency.
Growing clove plants at home from seed to spice is a fulfilling endeavor that allows you to enjoy the aromatic essence and culinary benefits of this versatile spice. By following these simple steps and providing proper care and attention, you can cultivate healthy clove plants that yield bountiful harvests of fragrant cloves for years to come. So why not embark on this journey and add a touch of spice to your garden and culinary creations?